The Chinese edition of this article is available >>>here<<<.
Disclaimer: Please keep in mind we do not own the copyrights of some course files such as osmXml2bin and the EZGL library. Please do not post any course files in a public repository.
(Depending on your network connection, it may take 10-15 minutes) It is strongly recommended to read the full guide before you proceed, so that you can select a better approach. It should also help you to debug any problem you encounter in the steps. You are also welcome to leave a comment here or on my main page. I will respond to you as soon as I am available.)
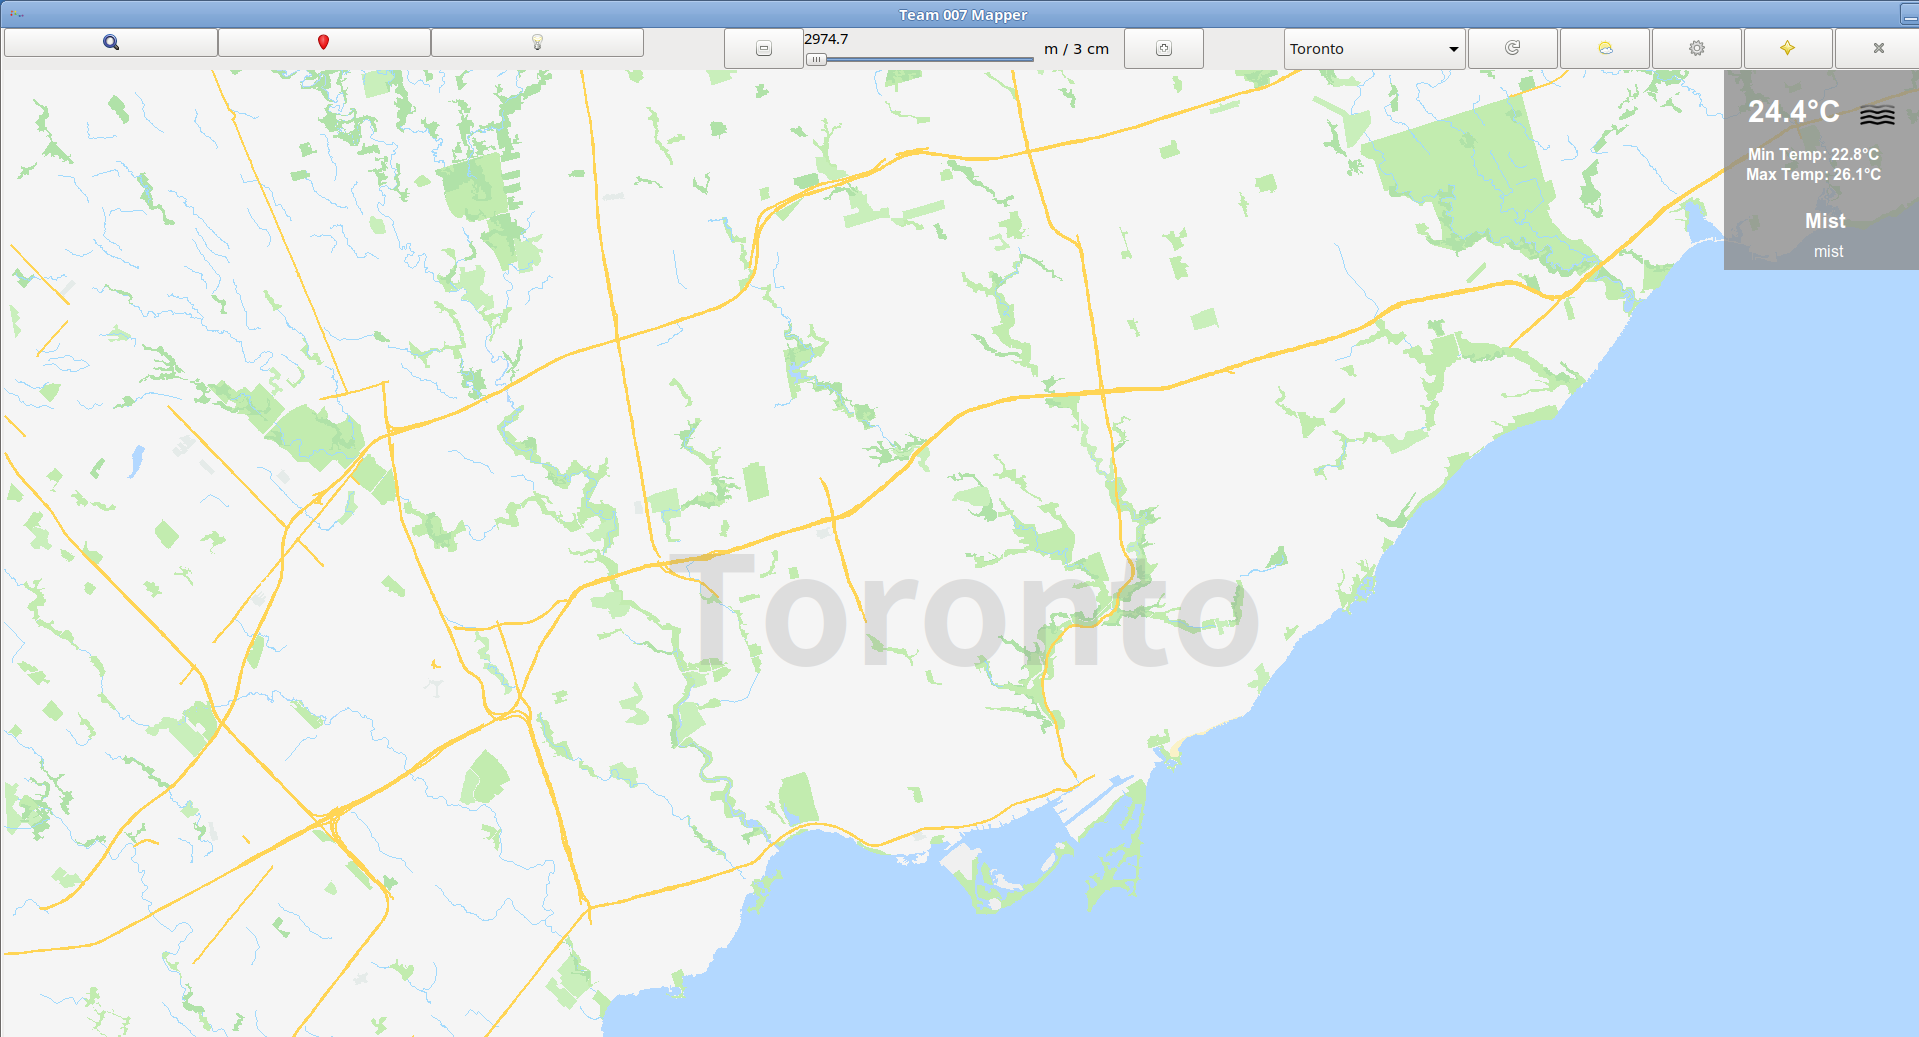
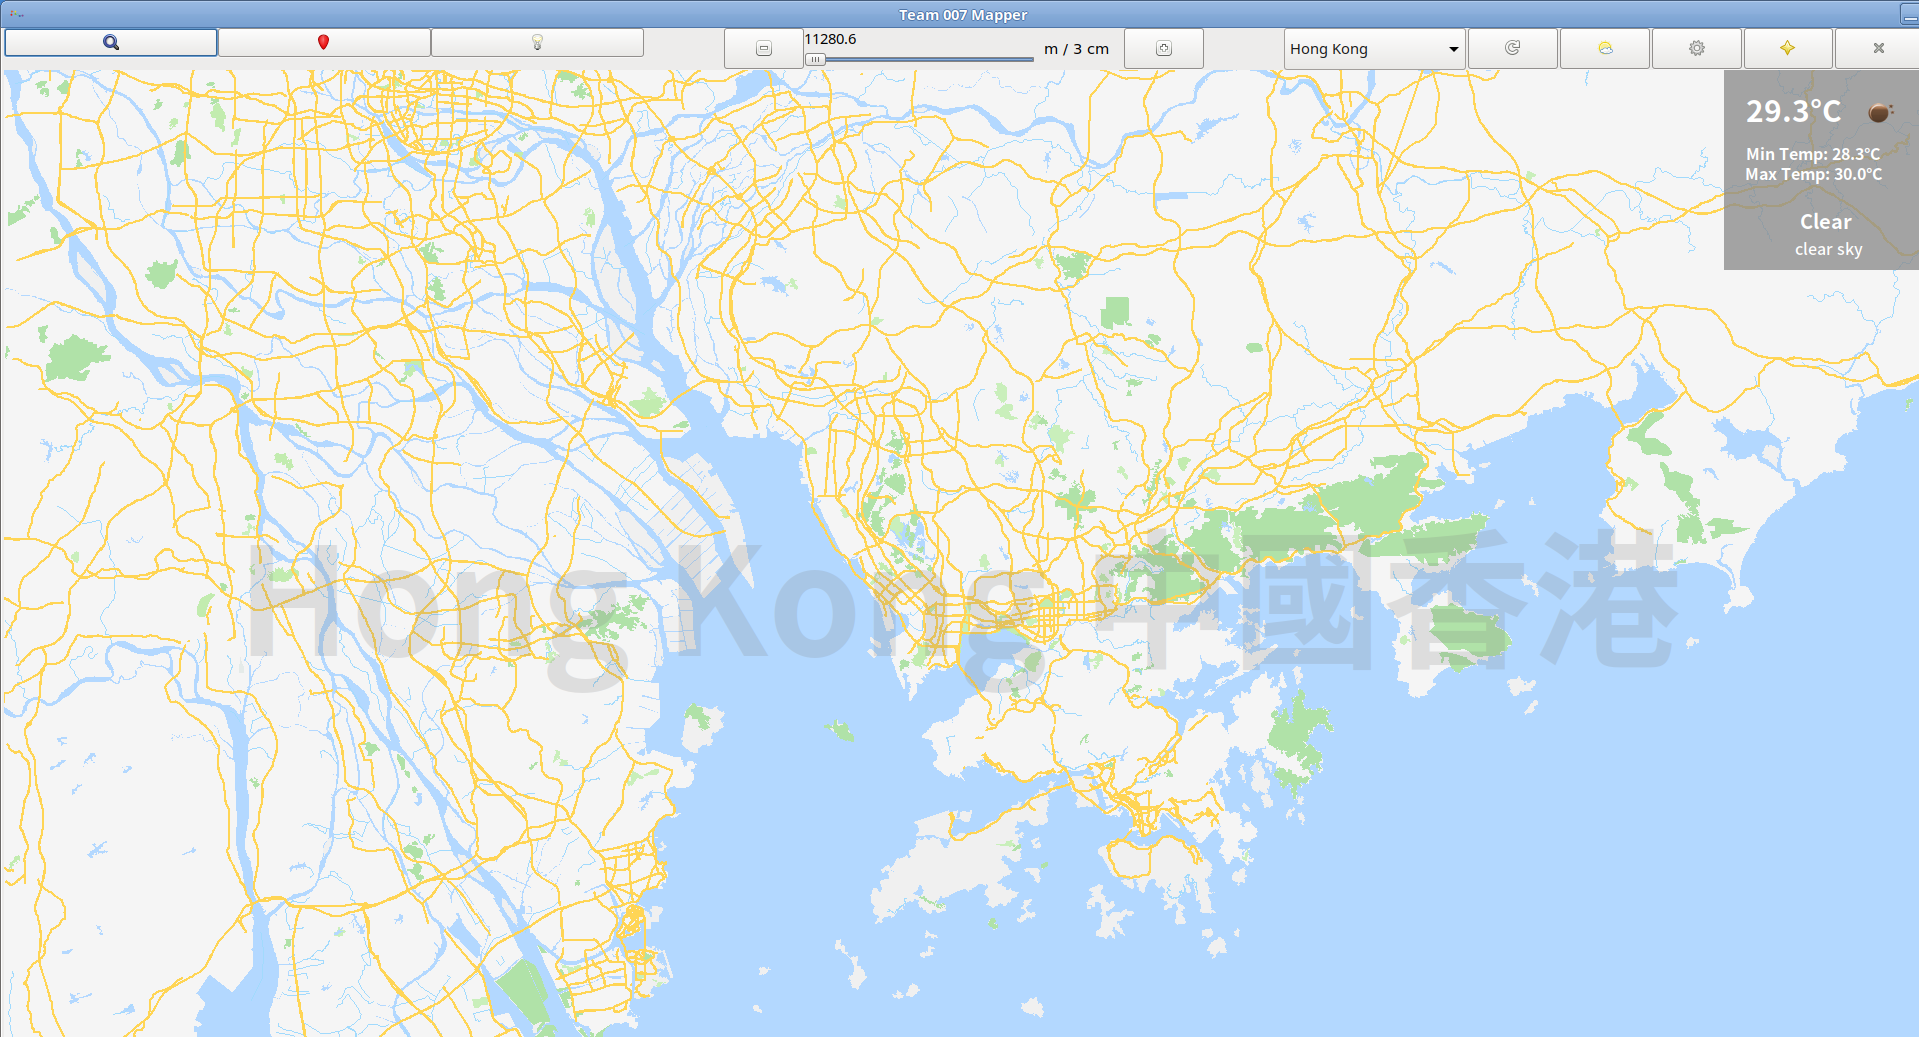
Since the course files will be modified during this summer, I have been looking for a way to backup our team’s code in case it could not be built in the future. Through experiments I found the process was relatively easy, and I am sharing the procedure as follows.
To achieve a similar working environment with the lab machines, I installed Debian 9.9 (you can also try the lastest version Buster as there won’t be too much difference) with the Mate desktop environment. The installation of the Debian system is not covered here. Please go to the official website below and download the installation image correspond with the architecture of your machine. “amd64” is the name for 64-bit processors, both Intel and AMD.
https://www.debian.org/distrib/netinst
Setting up dependencies
After the system installation, run the following from the terminal:
sudo apt update && sudo apt install gcc make curl libcurl4-gnutls-dev libboost-all-dev libreadline-dev git glade libunittest++-dev -yFor your reference, the above command will install the following dependencies:
gcc: compiler
make: executable builder
curl: URL resolver executable
libcurl4-gnutls-dev: URL resolver library
libboost1.62-all-dev: dependency of libStreetDatabase
libreadline-dev: support reading from command line
git: version control
glade: includes the GTK+3 suite
libunittest++-dev: unit test library
It is not necessary to install all of them if you only want to run your mapper without continuous development.
Copy all files from the remote to your local machine
[Updated June 14, 2019]: Since the UG remote servers have been down since a few weeks ago, people are not able to copy the “cad2” folder which might be modified during this summer. Here is my backup for Winter 2019:
https://junhao.ca/shared/cad2.7z
Please don’t abuse the servers… I will take the files down if I receive complaints from my peers.
If you are less familiar working with the terminal. You can try one of the following two approaches:
A. With Root Access (no need to modify your code, but less convenient for portable development)
- Create a local folder named “public” somewhere on your local machine.
- Run “caja” from the terminal.
- In the “Location” field, enter “sftp://ugXXX.eecg.toronto.edu” and hit return
- Copy your “ece297” folder from the lab remote to your local user directory.
- Go to “cad2/ece297s/public”. Copy all files and folders under this directory to your local “public” created in Step 1.
- Run “sudo caja” from the terminal. That will launch the GUI file manager as Root. Now go to the root directory and build the following directories: cad2/ece297s
- Copy the “public” folder you created in Step 1 to cad2/ece297s
B. Without Root Access (Recommended approach for various environments)
- Follow the above instructions to view the remote directory, except using root access from the terminal. (or you can download my backup which should work very fine as well)
- Paste the “cad2” folder into your mapper repository
- Modify your code to reflect the path change. For example, you should check the Makefile and your main.cpp file.
Now you have done copying all the necessary files from the remote.
You can install any IDE you want and try running the mapper on your local PC now.
Using “ece297exercise”
Install these dependencies:
sudo apt update && sudo apt install libunittest++-dev valgrind -yAlso you need to add the “en_CA.UTF-8” locale to your system, if you haven’t done so:
sudo dpkg-reconfigure locales简体中文版

声明: 我们并不拥有部分课程文件的著作权,譬如osmXml2bin及EZGL库。请不要将课程文件发布在公共库里。
(取决于网速,本指引操作时间大约在10分钟到2小时。慢一点2天也不是不可能,在此感谢中国电信联通长城铁通限制境外ip带宽来节省成本。墙裂建议操作前完整阅读该指引,以选择更适合的方式,这样也方便排除步骤里出现的各种问题。欢迎在文章下方留言,我看到就马上回。)
传闻中课程的公共文件将在暑假时更新,我一直设法备份我们组的代码,以防日后无法编译。各种操作猛如虎之后发现还是比较容易操作的,方法分享如下
为了操作环境与机房里更加相近,我安装了Debian9.9 与Mate桌面(7月6日更新:想装最新版的Debian10 buster也行,亲测区别不大)。本指引不会仔细说明该系统的安装过程。有需要的话可以去下方官网下载系统镜像,记得选择正确的处理器架构。不论你是牙膏厂还是按摩店,只要是64位的通通选”amd64″。
https://www.debian.org/distrib/netinst
安装依赖库
如果你在国内操作,可以考虑下替换nb清华大学的镜像源,不然慢的像蜗牛一样。当然如果你喜欢浙大华为网易或者阿里云也行,自行百度。请根据系统版本参考:https://mirror.tuna.tsinghua.edu.cn/help/debian/
装完系统后,在终端里跑以下代码:
sudo apt update && sudo apt install gcc make curl libcurl4-gnutls-dev libboost-all-dev libreadline-dev git glade libunittest++-dev -y以上指令会安装如下的依赖库(库名根据不同系统版本可能有变化,”apt search 关键词“可以查一查正确完整库名)
gcc 编译C++用的
make 编译程序用的
curl 解析网址用的可执行文件
libcurl4-gnutls-dev 解析网址用的库
libboost1.62-all-dev 读数据结构(libStreetDatabase)
libreadline-dev 命令行读取
git 版本控制
glade 包含GTK+3的套件
libunittest++-dev 测试代码的库
如果没打算后续开发,以上库不是必须全部安装。但不想出问题的话那还是全部装好了
从远程机器复制文件
[2019年7月18日更新]: 前段时间机房不知为何断电了,我队友拷不出公用的文件了。不知道现在的文件改了没,反正我备份了:
https://junhao.ca/shared/cad2.7z
如果不熟悉终端指令的话,可以尝试以下两种方式:
A. 需要Root权限 (无须改代码,但便携开发没那么方便)
- 在本地机子上任意位置创建一个叫 “public” 的文件夹
- 在终端里输入caja并回车(Mate桌面的资源管理器)
- 在地址栏中输入“sftp://ugXXX.eecg.toronto.edu” 并回车
- 将“ece297”从远程机房的用户目录,复制到本地用户目录下
- 如果你选择用我的备份,请按这一条操作,不然就从第6步继续。在终端里输入“sudo caja”并回车,将解压后的cad2文件夹复制到根目录(“/”)。完毕。
- 前往“cad2/ece297s/public”,复制所有文件和文件夹到第1步创建的“public” 文件夹中。
- 在终端里输入“sudo caja”并回车,即以Root权限启动资源管理器。前往根目录(”/”)创建一个叫”cad2″的文件夹,在这个”cad2“文件夹里创建一个叫”ece297s”的文件夹
- 复制“public”(参考第1,第6步)至”ece297s”(参考第6部)
B. 无须Root权限(推荐,方便在各种环境下开发)
- 参考A方法的1-4步,将mapper的代码复制到本地。参考A方法5-7步,将cad2复制到本地(或者我就推荐直接用我的备份好了)
- 打开mapper文件夹,粘贴解压后的”cad2″文件夹
- 将代码里cad2的对应路径更改。譬如至少查下Makefile和main.cpp。
到此你已经复制了所有必要的文件。
你可以装任意开发软件并在本地调试你的mapper了。
使用 “ece297exercise”
安装以下依赖:
sudo apt update && sudo apt install libunittest++-dev valgrind -y如果你还未安装地区配置”en_CA.UTF-8″的话,你也需要安装此配置到系统里:
sudo dpkg-reconfigure locales
4 Comments
古雜 · 19 July 2019 at 2:22 PM
请问能不能手把手的教我安装呢?
Junhao · 19 July 2019 at 5:36 PM
Teamviewer?
qing huai · 13 December 2019 at 3:54 PM
xie xie
Junhao · 3 May 2020 at 2:29 PM
It seems the address bar in WSL(Windows Subsystem for Linux) does not support entering server names. I haven’t found the root cause, but transferring files thru the SSH tunnel still can be done by scp in terminal anyways:
scp -r ug_username@ug251.eecg.toronto.edu:/path/to/remote/dir /path/to/local/dir
Microsoft has done some incredible modding of the Linux kernel so that it runs almost natively on Windows, which means that we cannot expect some behaviours to be the same when comparing with an actual Linux machine. Anyways it would be great if anyone can point out why the address bar thing is not working on WSL.